

Here are some important tips and things to know before heading to Seoul, especially for first-time visitors. I was stationed in Korea for 9 months during my Army days, and these apps were lifesavers for navigating the country. I highly recommend doing a little research on YouTube or Google for tutorials on how to install and use the apps I’ll mention. Additionally, when you land, getting a SIM card is crucial—it makes navigation and communication much easier throughout your trip. Having these essentials will ensure a smooth and stress-free experience!
5 Apps you need for South Korea

1. KakaoTalk
KakaoTalk is the most popular messaging app in South Korea, widely used for communication. It allows you to send free texts, calls, and multimedia messages. Many businesses also use KakaoTalk for customer service, making it essential for staying connected.

2. Naver Maps
Highly highly recommend getting this app. Naver Maps is far more reliable than Google Maps in Korea. It provides accurate real-time public transportation info, walking directions, and even cycling routes. It supports English.

3. KaKao T (Uber of Korea)
Kakao T is the go-to app for booking taxis, renting bikes, and even using ride-sharing services. You can pay directly through the app, and it offers real-time tracking, ensuring you have a smooth and safe ride anywhere in South Korea.

4. Subway Korea
Subway Korea is a must-have app for navigating Seoul’s extensive subway system. It offers detailed maps, train schedules, and transfer information, ensuring you can easily get around. It supports English and is updated with real-time schedule changes.

5. Papago (better than google translate)
Papago is a translation app developed by Naver, perfect for translating Korean into multiple languages. It excels in handling complex Korean phrases and even offers image translations, allowing you to translate menus or signs with your camera.
t-money card
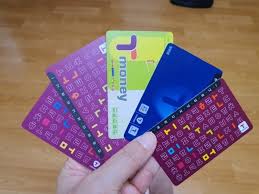
To make public transportation and getting around Seoul easier, I highly recommend getting a T-money card. It functions similarly to Japan’s Suica Card. You can use it for buses, subways, and even some taxis. Simply load it with credit and tap it on the reader when boarding. You can recharge it at convenience stores or subway stations. It’s a convenient, must-have item for smooth travel across the city.
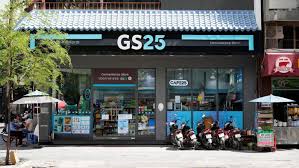
Step 1.
Visit convenience stores like CU, GS25, 7-Eleven, or Buy The Way, or head to a subway station ticket machine. These places all sell T-money cards.
Step 2.
Buy a T-money card for around ₩2,500–₩5,000. You can choose from various designs. You can add increments of ₩1,000 up to a maximum of ₩500,000
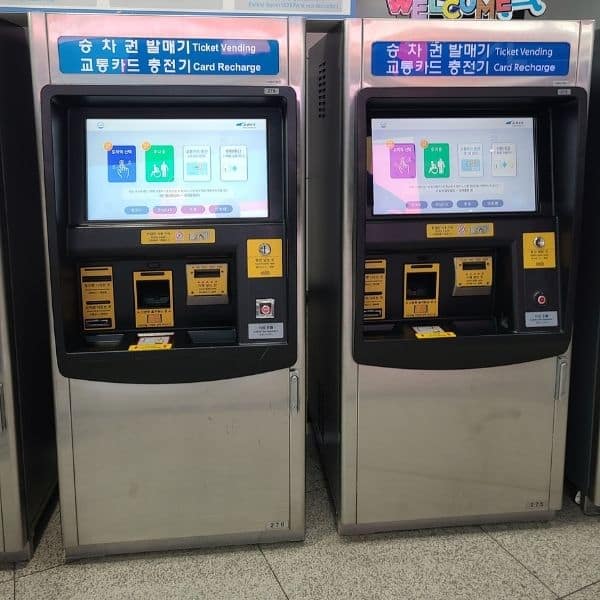
Step 3.
Add funds to your card at the store counter or subway station’s recharge machines. Most machines have English options.
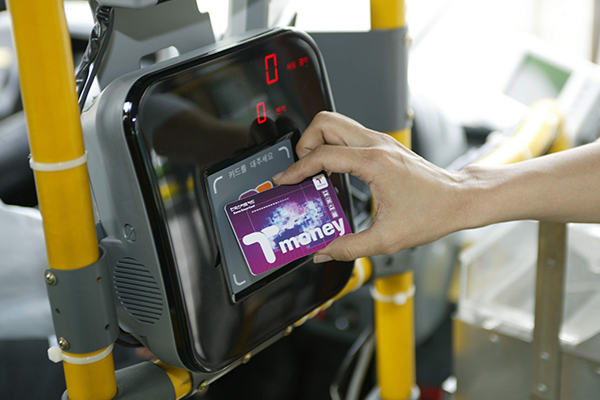
Step 4. Using your T-Money Card
Tap the card on buses, subways, and taxis to pay. The T-money card also works for convenience store purchases
Flying into Seoul from the U.S.: Step-by-Step Customs Check Guide
If you’re flying into Seoul from the U.S., here’s what you need to know about the customs process. After landing, follow signs to immigration, collect your baggage, and proceed to customs. Be sure to declare any items if necessary. I also recommend visiting the Incheon International Airport website to stay updated on entry requirements and changes. Here’s the link for more detailed information: Incheon Airport Customs Process. https://www.airport.kr/ap_lp/en/arr/process/taxdec/taxdec.do
- Step 1: Fill Out Arrival Forms You’ll receive an arrival card and a customs declaration form on your flight. Fill them out before landing.
- Digital version for faster entry: https://m.customs.go.kr/tms/html/mos/psnr/MOS4001002Q.do
- Step 2: Disembark and Follow Signs After landing, follow signs to immigration.
- Step 3: Immigration Check Present your passport, visa (if applicable), and arrival card. You’ll also go through a fingerprint scan and photo capture.
- Step 4: Baggage Claim Collect your luggage from the baggage carousel.
- Step 5: Customs Declaration If you have items to declare (such as high-value goods, excess currency, etc.), go through the “Goods to Declare” lane. If not, use the “Nothing to Declare” lane. Hand over your customs form to the officers. Sometimes, a random inspection may be conducted, so be ready to open your luggage if requested.
- Step 6: Exit Once cleared, proceed to the exit, and you’re ready to enjoy your time in Seoul!

Leave a comment